
Photo guide
How to take matching before-and-after photos
October 7, 2026 · AlignBefore
A useful before-and-after photo makes the change easy to see. If the camera moves to a different corner, the room can look bigger, smaller, or completely different for reasons that have nothing to do with your work.
Start with three things you can repeat: where you stand, how you hold the phone, and what stays in the frame. You do not need an elaborate photo setup. You do need to take the before while the job still looks like the before.
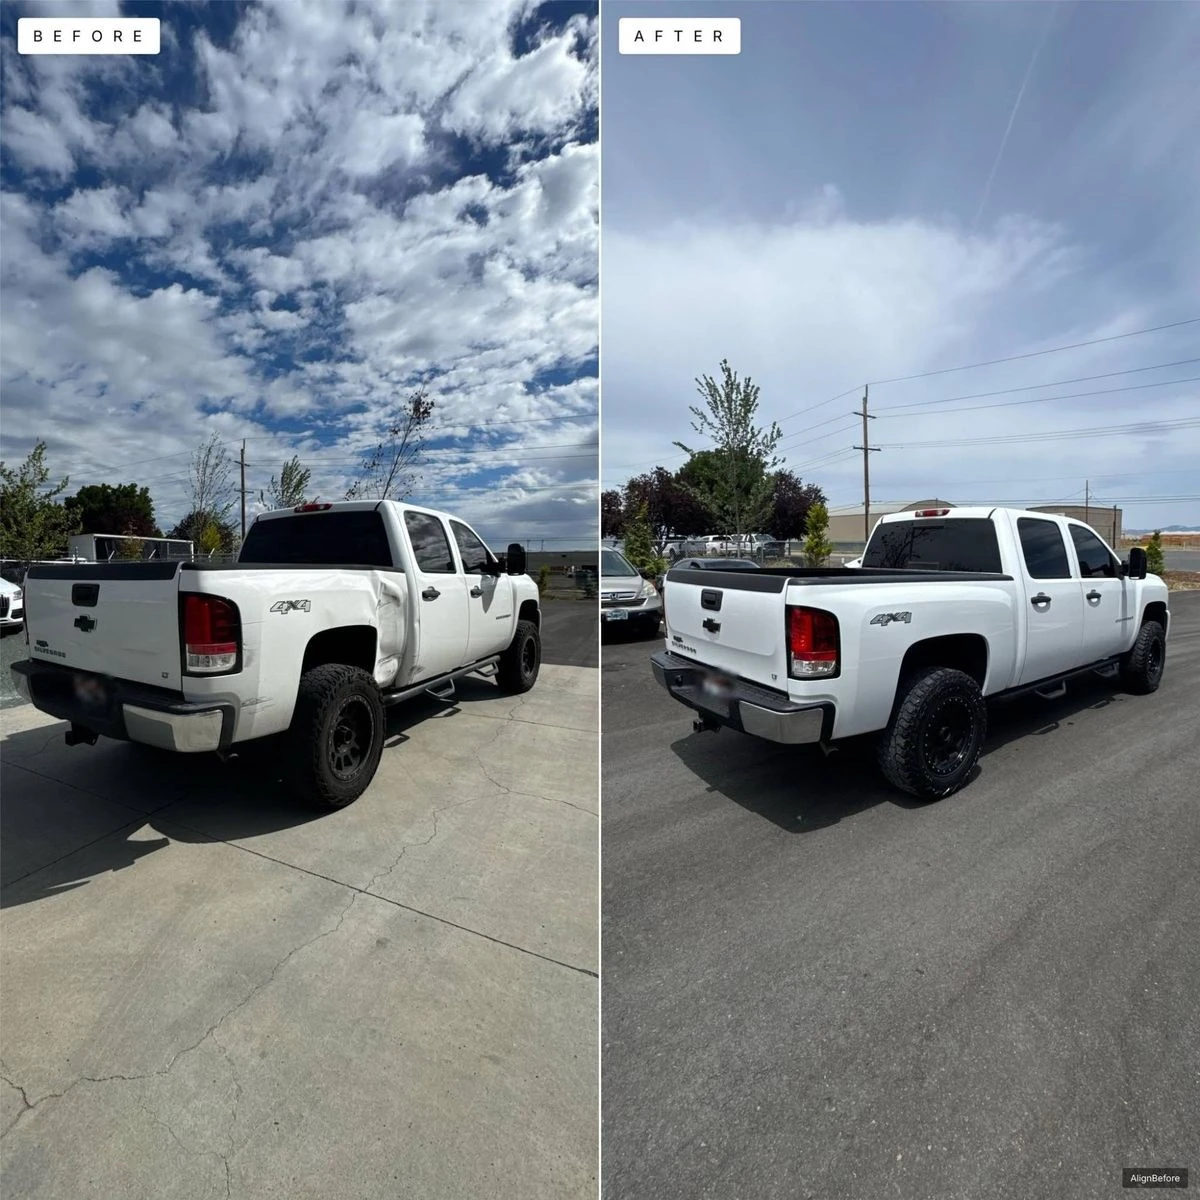
1. Take the before before prep starts
Photograph the work before ladders, drop cloths, tools, or demolition obscure it. Take a wide view that explains the space, then closer views of the details you plan to change.
For painting, that might be the whole room, a window frame, and the cabinet run. For remodeling, include both the room layout and details that will be hidden by the finish. The painting guide and remodeling guide have shot lists you can adapt.
Choose an angle you can return to. A doorway or a fixed position along a sidewalk is easier to remember than an arbitrary spot in the middle of a room.
2. Record the camera position
Note where you stood and the height of the phone. “Inside the hall doorway, phone at chest height” is more useful than “living room.” If you use a tripod, keep a record of its position and height.
Keep the same lens and zoom setting for both photos. A wide lens and a closer viewpoint can change the proportions of the scene. Cropping the after photo may help its edges match, but it cannot recreate a different camera perspective.
Try to keep the phone level, with the same amount of ceiling and floor visible. Check a vertical edge, such as a door frame, to spot a large change in tilt.
3. Choose landmarks that survive the work
Pick fixed details that will still be visible when you return: a window corner, doorway, ceiling junction, or roof line. A patch on a wall you are about to paint is a poor reference. So is a cabinet scheduled for removal.
Compare more than one point. A window lining up does not necessarily mean the room’s other edges line up. Look at the position of a second or third landmark before taking the after.
If demolition removes most of the scene, matching the angle becomes harder. Use references outside the changed area and keep your original position notes. A photo guide cannot restore landmarks that no longer exist.
4. Keep the lighting reasonably consistent
Return at a similar time of day when you can, particularly for exteriors. For interiors, try to use the same room lights and similar daylight conditions. A bright sunny after and a dark before can exaggerate the difference.
Check that important surfaces are visible in both shots. Keep color-changing filters out of the comparison. Matching the angle does not calibrate paint colors or guarantee identical exposure, so review the pair before posting.
5. Line up the after before you take it
Open the before photo and use it as a reference. In AlignBefore, the after camera can show Lines or a see-through Photo guide. You can also tap up to three landmarks after taking the before shot to make fixed details easier to find later.
Move back toward the original position. Match the broad framing first, then adjust the phone height and tilt. Check the window, doorway, and edges of the room together. You move the phone and tap the shutter when the framing looks right.
Do not try to fix every mismatch by zooming. If one side lines up but the other does not, your position or angle may have changed. Move the phone, compare again, and review the captured after before keeping it.
6. Choose a layout that explains the change
Side by side gives each complete photo its own space. A split reveal works well when the framing matches closely. A stacked layout may suit a tall scene better.
Choose a size for where the picture will go, then check the result at phone size. Make sure the work is visible, the before and after labels are clear, and the crop has not hidden an important detail. Use a logo that leaves room for the work itself.
Keep the original photos as well as the finished picture. Save copies outside the app when you need a backup or a file to hand over. AlignBefore currently keeps jobs and photos on the iPhone; it does not provide cloud sync.
A quick checklist for your next job
- Take the before while the work is still untouched.
- Note your standing position, phone height, lens, and zoom.
- Pick two or three unchanged reference points.
- Aim for similar lighting in both shots.
- Match the framing before taking the after.
- Review the finished comparison and confirm you can share the job photos publicly.
Want to try the guides on your next job? Join the AlignBefore iPhone beta, or see the app’s current screens.